

Fixing faded or smudged codes
Faded codes and smeared prints usually trace back to a small setup issue rather than a bad cartridge. This guide helps you check the nozzle, surface, distance and hand speed so your handheld coder leaves a clean readable mark.
Start with the mark itself
Before changing cartridges or wiping the head, look closely at the problem print. A pale code, a streaked code and a wet code point to different causes, and it helps to separate them before you adjust anything. On a carton line you may see a dry, broken print where the surface is absorbing too much ink. On bottle labels or plastic film the issue is often the opposite, with too much wet ink sitting on the surface and dragging when the item moves.
Run a few test prints on the same material, not on a different box or offcut. Compare the first print, the next few prints and then one after the cartridge has rested for a short while. That pattern tells you whether the trouble is nozzle condition, handling speed or drying on the surface.
- Pale but sharp print usually means low ink transfer, partial nozzle blockage or too much distance.
- Blurry edges often point to the coder being too close, moved too slowly or held at an angle.
- Smudging after printing usually means the wrong ink type for the surface or not enough drying before handling.
- Missing lines through letters often suggest dried ink at the nozzle face.
Clean the nozzle face properly
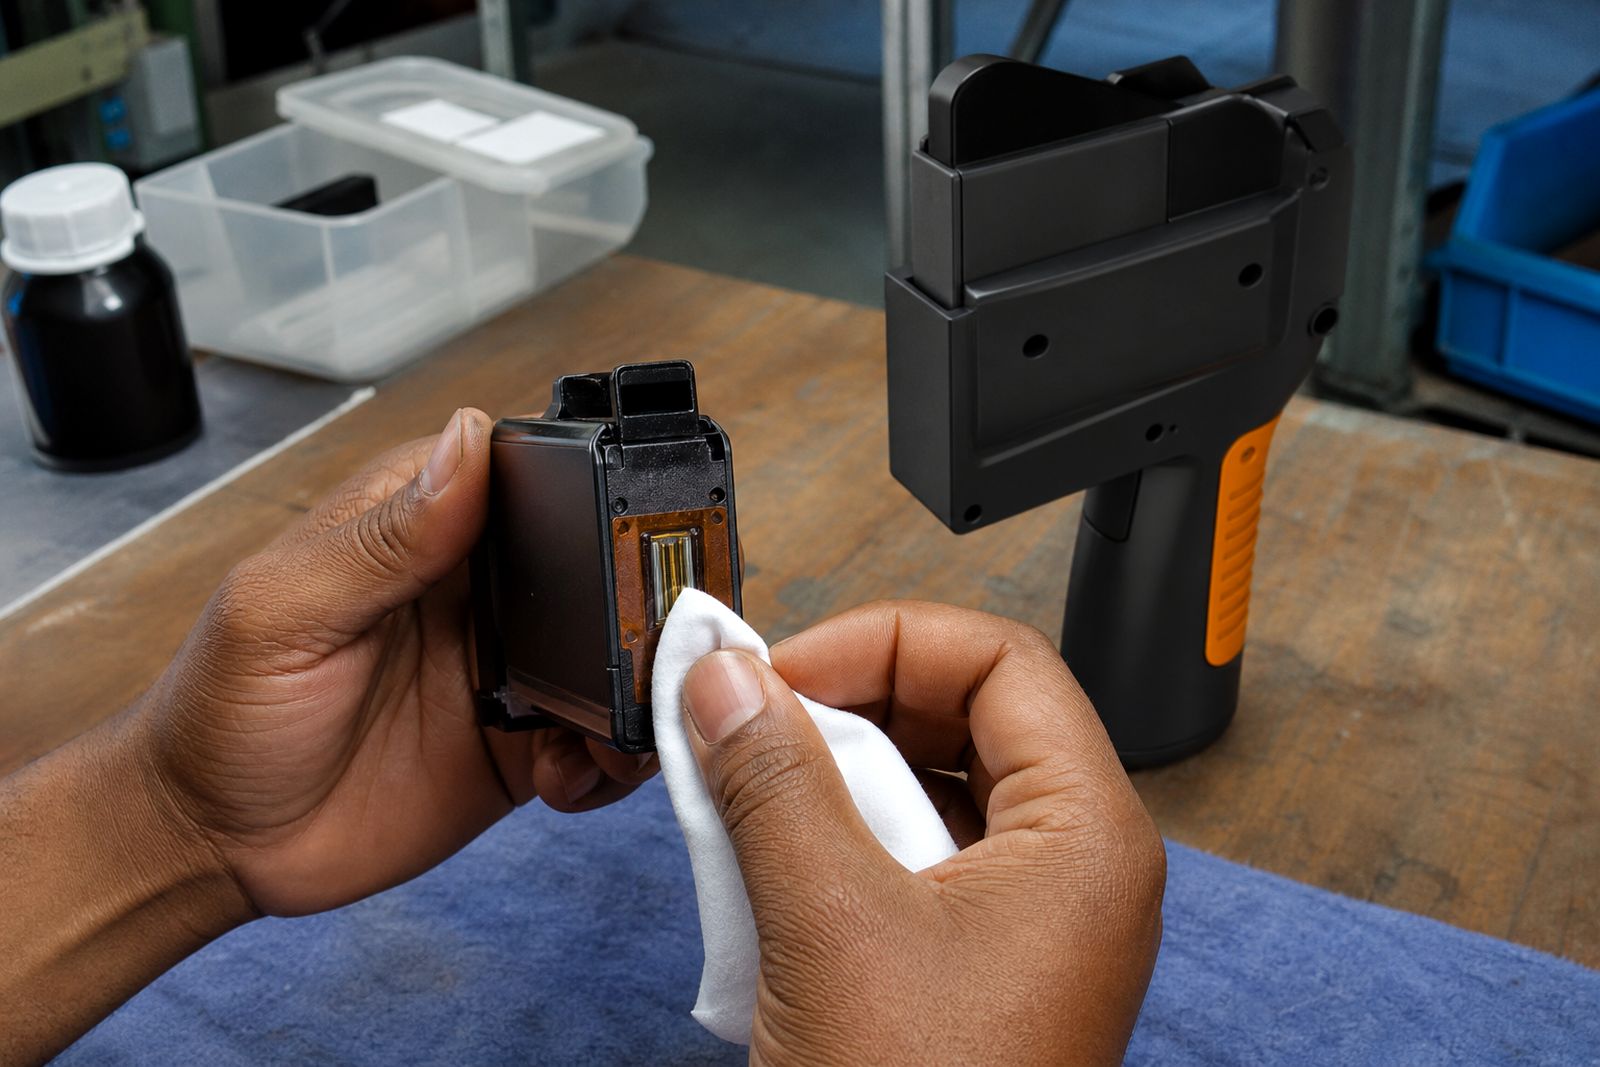
Nozzle care is the first hands-on check because even a small film of dried ink can break up a code. This matters in Durban humidity as well as in drier inland stores, because cartridges left uncapped between runs can pick up lint, dust and dried residue. Wipe only the printhead area and the surrounding face with a clean lint-free cloth, following the handling notes for the cartridge. Do not scrub hard or use rough paper, as that can spread residue over the nozzle plate.
If the coder has been standing between shifts, make one or two test passes after cleaning rather than judging the first mark only. A nozzle can clear itself after a short run. If you still get broken characters on the same lines, stop there and check compatibility with the coder and the surface before forcing more prints through it.
- Keep the protective cap on when the cartridge is out of use.
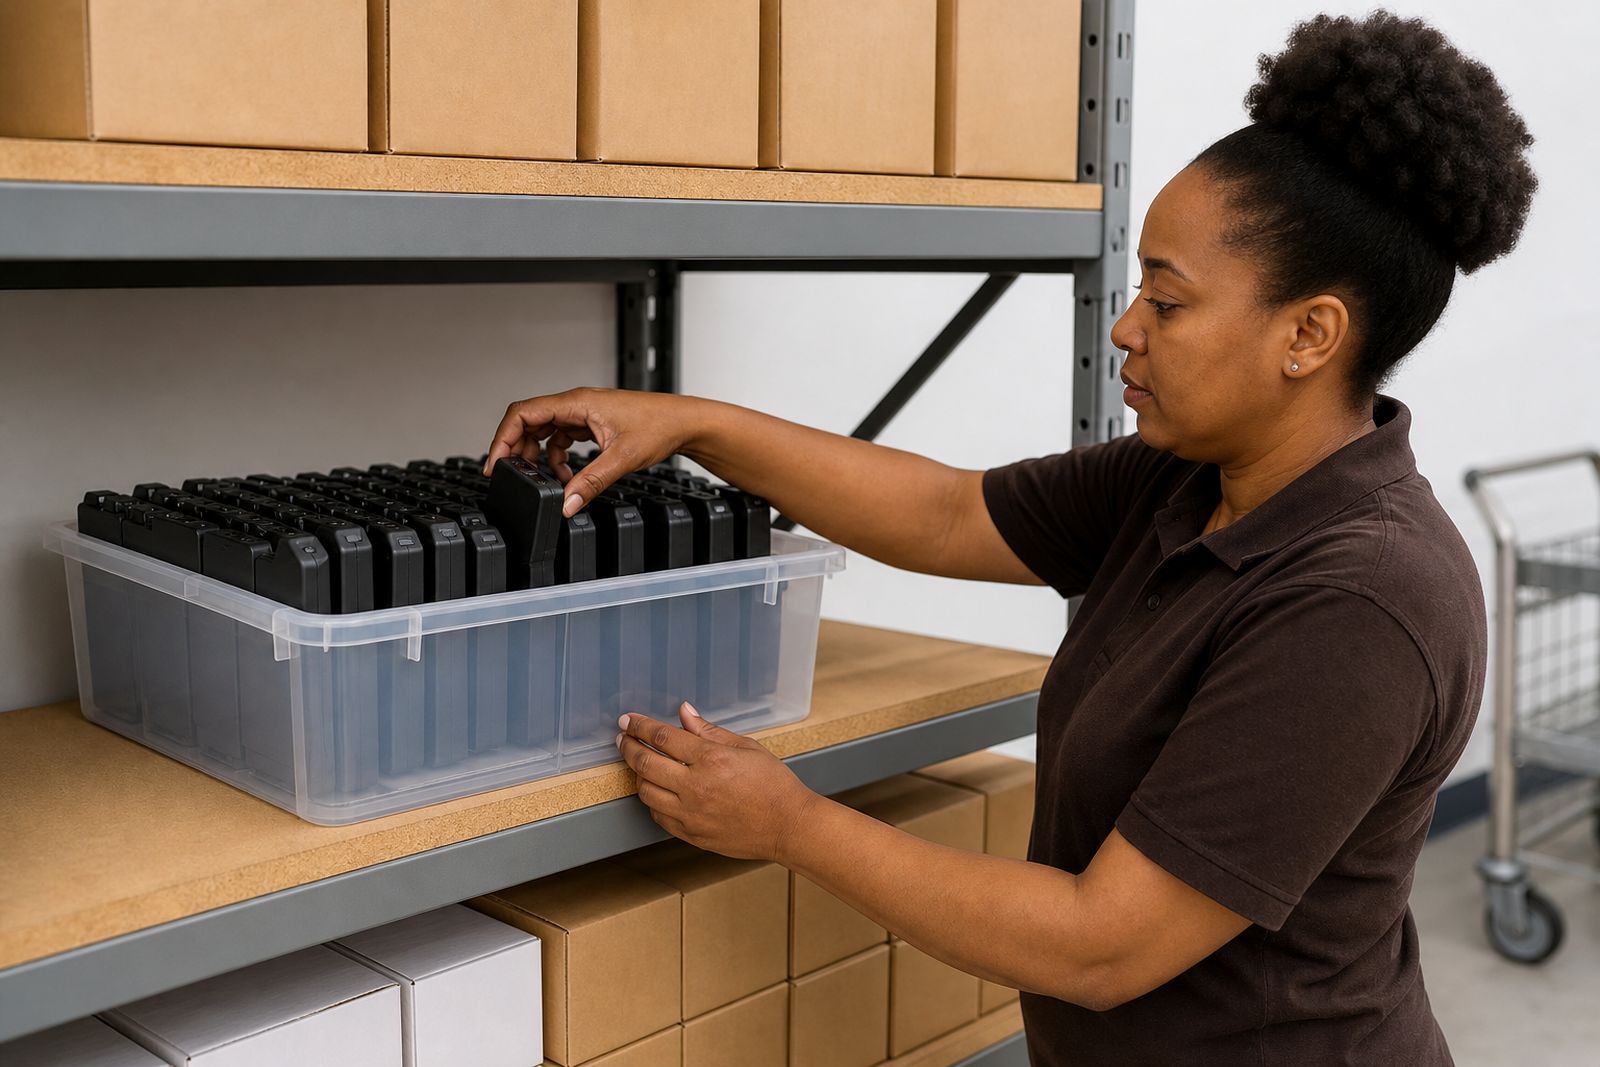
- Store cartridges sealed and upright where possible, away from direct heat.
- Do not touch the nozzle face with fingers.
- Use clean sample stock for testing so dirt from the product does not confuse the result.
A lot of weak coding faults start with simple nozzle neglect, and that is fixable before you open another cartridge.
Check throw distance and print angle
Handheld coders work best when the gap between the nozzle and the surface stays even through the whole pass. If you print too far away, droplets spread before they land and the code looks faint or fuzzy. If you press too close, the head can skim the pack and leave a smear. This is common on shrink film, curved bottles and taped outer cases where the operator tries to steady the unit against the product.
Hold the coder square to the area being marked and keep the pass level. A slight tilt can make one side of the code heavier than the other. On pipes, tins and glass jars, the curve of the item makes this a bit trickier, so test on the exact diameter before running a batch. If one side of the print looks strong and the other weak, the angle is often the culprit, not the ink.
It sounds basic but uneven hand position causes many coding complaints in packing rooms.
Match your hand speed to the surface
Moving too quickly can leave a light, stretched code. Moving too slowly can pile up ink and cause feathering or transfer onto nearby guides, conveyors or hands. Cartons and porous board usually forgive small speed changes, while plastics, coated labels and glass show every hesitation. If the code starts dark and then blobs at the end, the operator is often slowing down while lifting away.
Use the same motion you would use on a test panel, with one smooth pass from start to finish. Do not stop halfway through a date code to correct your aim. For outer cases and warehouse labels, large characters need the same steady movement or the edges can look ragged.
- Practise on scrap from the same production run, not on a different substrate.
- Keep the coder square and move in one controlled pass.
- Avoid twisting the wrist near the end of the print.
- If more than one operator uses the coder, compare test prints from each person.
When a fault appears only on one shift, operator movement is worth checking first, even before you change cartridge type.
Make sure the ink suits the material
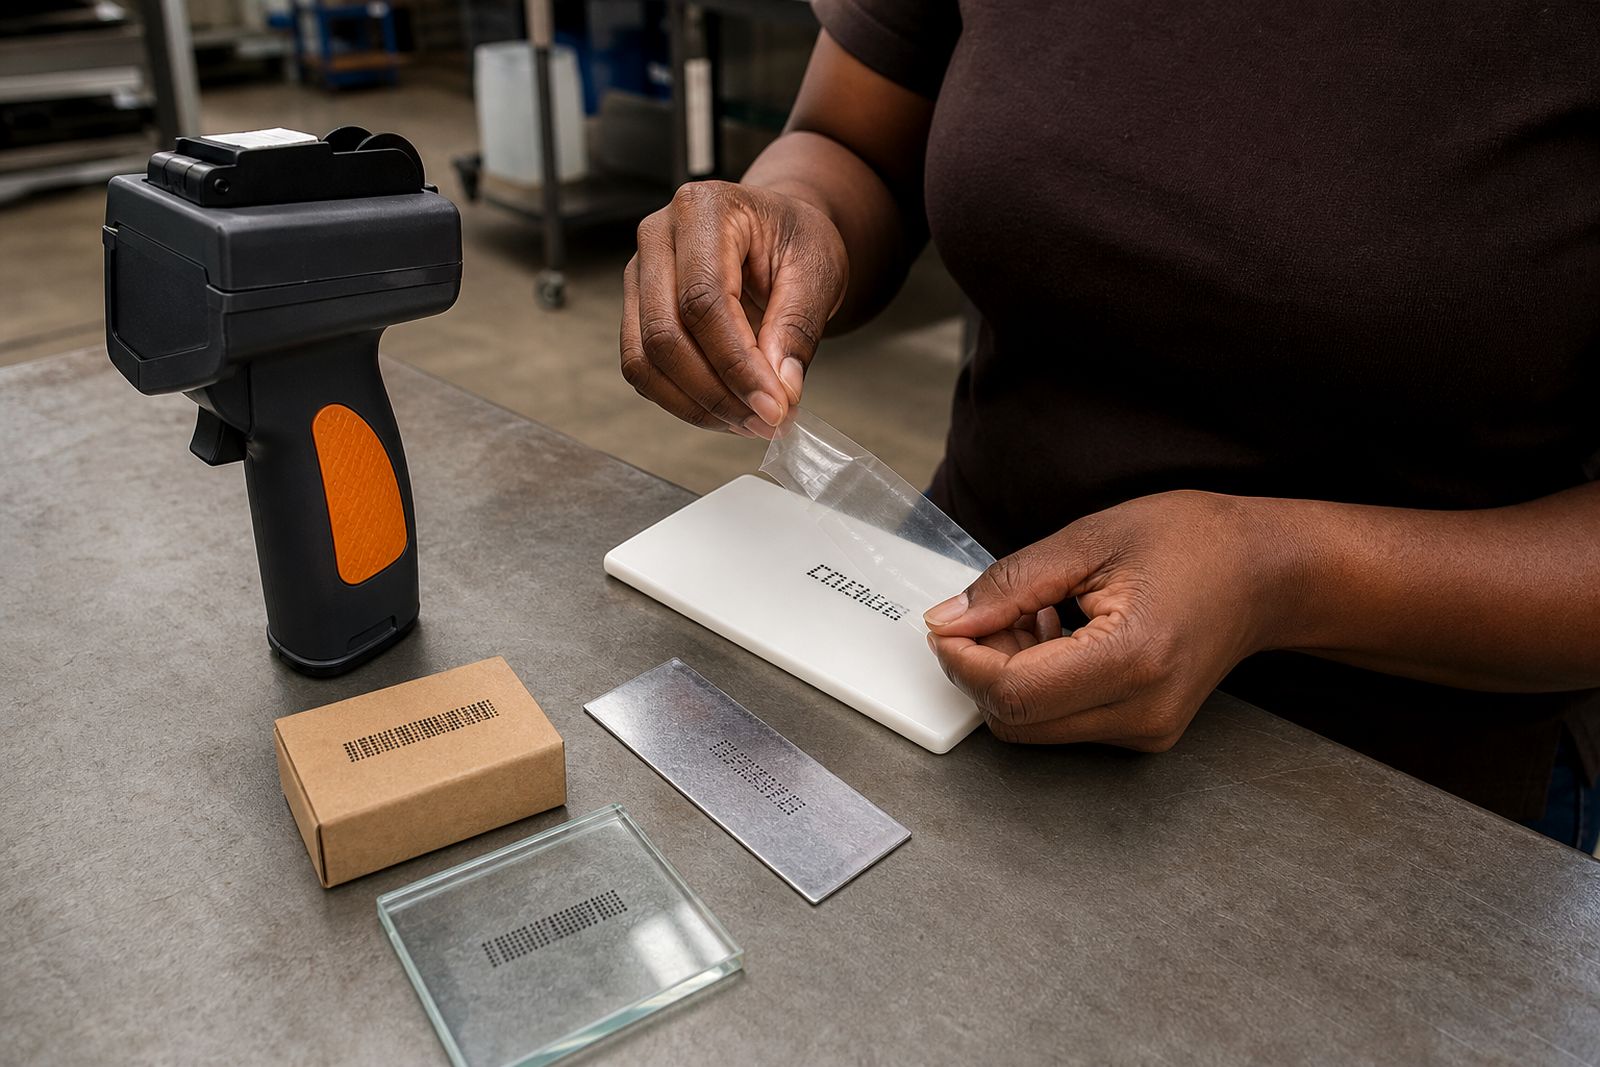
Smudging often has less to do with the cartridge condition and more to do with using the wrong ink family on the job. Water-based cartridges suit cartons, paper and some woods where the surface can accept the ink. Non-porous materials such as plastic film, bottles, metal and glass usually need a quick-dry solvent ink so the mark can set on the surface rather than sit wet. White and coloured inks can help visibility on dark packs, but they still need to be matched to the substrate.
Packaging lines in food plants, beverage rooms and busy warehouses move fast, and codes may be touched, packed or stacked soon after printing. If the mark transfers to gloves, shrink wrap or adjacent packs, test a more suitable cartridge type for that material and handling pattern. For shipping cases, large-character cartridges help readability, but the same rule applies: porous board and non-porous wrap do not take ink in the same way.
If you are unsure which cartridge family suits your surface, use our contact form with the material type, the colour of the pack and a note on whether the code is handled straight after printing.
A short checklist before the next run
Once you have cleaned the nozzle, checked distance and confirmed the surface, do one final setup pass before production starts. This helps stop a small issue becoming a pile of unreadable stock in the dispatch area. Keep a few printed samples from a good run nearby so the operator can compare density and edge sharpness rather than guess.
- Test on the actual product or case used on the line.
- Check that the cartridge is seated correctly in the coder.
- Confirm the print area is dry and free of dust, oil or condensation.
- Keep handling off the code until the mark has set on the surface.
- Cap and store the cartridge properly when the run pauses.
If the code is still faded or smeared after these checks, note the substrate, print colour and fault pattern, then send those details through our contact form. We can help you narrow down whether the issue is nozzle care, cartridge selection or the way the coder is being used on that material.
What our Coding Ink customers say
Verified Google reviews
Questions we get asked
Why does my code look fine on cardboard but smear on plastic?
Cardboard and other porous materials absorb ink, while plastic usually does not. A cartridge that works on cartons may stay wet on film or bottles, so the code needs an ink type suited to non-porous surfaces.
Can a dirty nozzle cause missing lines in letters?
Yes. Dried ink or residue on the nozzle face can interrupt parts of the print, leaving gaps through characters or uneven density across the code.
Should I test on a sample from another batch?
It is better to test on the same material used in production. Coatings, surface finish and dust levels can change the result, especially on film, labels and coated cartons.
Tell us about the job
Send sizes, materials and where you are through our contact form, and we will come back with the practical options.
Open the contact form